
Cake Border Designs and the Piping Nozzle Behind Them
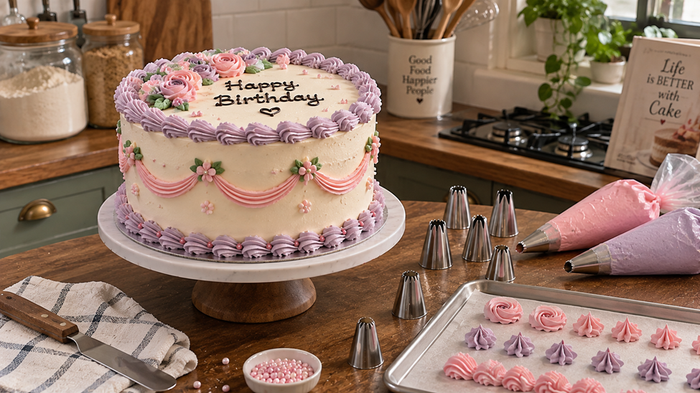
Since you are a baker, there have been many times when you finish making a cake and wonder, now what? The sponge is done, the buttercream is perfect, but something is still missing. This is usually the time when a cake border starts to come into focus.
The beauty of having a border on your cake lies in the fact that it makes the entire cake appear complete. It brings an added elegance to the design, finishing off the edges that meet the board, without too much of additional effort.
Your border design depends on the piping nozzle you will use. Your choice of piping tip will influence the design of the border and will give you various cake border piping techniques for decorating other cakes in the future. Once you decide on the one you want, then creating various cake border piping techniques become much simpler, and with the proper piping tip, you can make better use of your baking equipment.
Shell Border
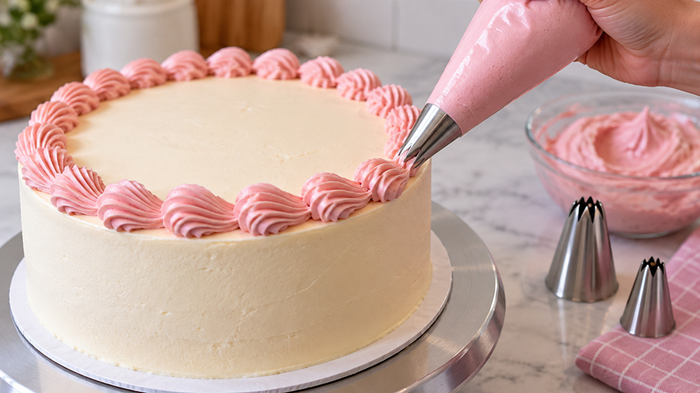
Certain cake designs are always in fashion, and the shell border is one of those designs. It provides a neat finishing touch either around the top or the bottom of the cake and is just as suitable for birthdays as it is for weddings.
To draw this border, attach a 1M or large open star piping tip to your piping bags, hold the tip at a 45 degree angle, squeeze it to form a shell, then reduce the pressure and pull back to make the tail. The new shell must be piped from the point where the previous one ended for a smooth transition.
If you are still learning how to decorate, the 1M nozzle is easier to handle and gives great shell shapes without needing much practice. For large celebration cakes, larger open star piping nozzles produce shells that are more full and are therefore suitable for wider borders and taller tiers.
Rosette Border
A rosette border is ideal if you want your border to attract people’s attention rather than just framing the cake, since it is composed of rows of buttercream flowers and gives the cake a delicate floral finish which is suitable for use at both birthdays and weddings.
In order to do this, hold the piping bags directly above the cake using a 1M or a closed star piping tip. Keep applying steady pressure, make one complete circle and then lift the bag clean before beginning the next rosette next to it.
The different 1M variant piping nozzles result in different petal shapes, some of which produce tighter petals for a more defined rosette and others produce a more open flower so that you have another style to select.
Drop Flower Border
If you’re looking for a border which is not too time-consuming to pipe, a drop flower border is a quick method of adding small buttercream flowers around the edge, making the cake appear decorative without having to spend a long time piping the flowers. The individual flowers are piped separately, which gives a neat pattern around the tier.
Keep the piping bags straight over the cake when using a 2D drop flower piping nozzle. Put forward steady pressure, give the bag a slight twist as you let the mixture out, and then pull the bag away. Since each squeeze makes one flower, all you have to do is carry out the same movement all around the cake.
Drop flower nozzles for piping come in various sizes, thus allowing one to select an appropriate size of flowers to fit smaller or larger cakes without making the design look out of proportion.
Star Border
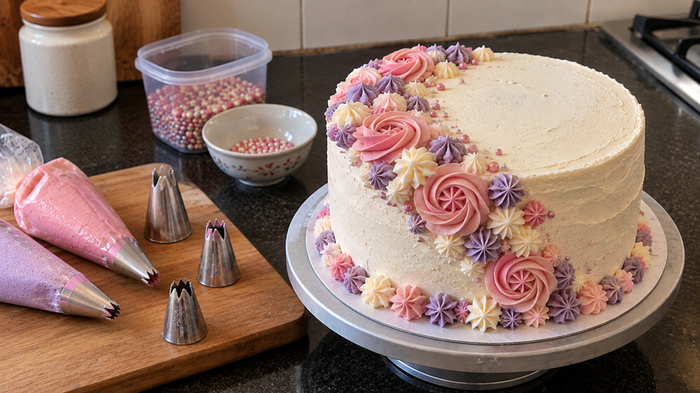
If you are still getting used to cake borders piping, then the star border is one of the best ones to begin with since it is easy to pipe, easy to control and suits birthday cakes, cupcakes and celebration cakes of all sizes.
Take either an open or a closed star piping nozzle that comes in No. 16 size. Hold the piping bag at a 90 degrees angle to the cake surface, squeeze steadily to make a star of desired size, and then stop squeezing and raise the piping tip up. Repeat this process until the whole border is finished.
The amount of space that you leave between each star will determine the overall effect. Close stars will make the border look more textured while leaving a small space will make the border light.
Leaf Border
A few buttercream leaves can transform an entire floral cake. Buttercream leaves fill up gaps in the design, create frames for piped flowers, and make the decoration denser without having to use more flowers. This is why leaf border is always the last detail added to any garden, spring, and botanical cakes.
Make use of leaf piping nozzle, most commonly used nozzle with number 352, keeping the piping bags at a low angle. Pressure should be kept constant and then the piping tip should be pulled away quickly to make a pointed leaf. Leaves should be slightly overlapped to make borders on cakes.
It is important to pick your colors wisely too. Light sage, forest green, and olive colors would be a good choice. Gel food colouring will help you create these colors without affecting the texture of your buttercream.
Pearl and Bead Border
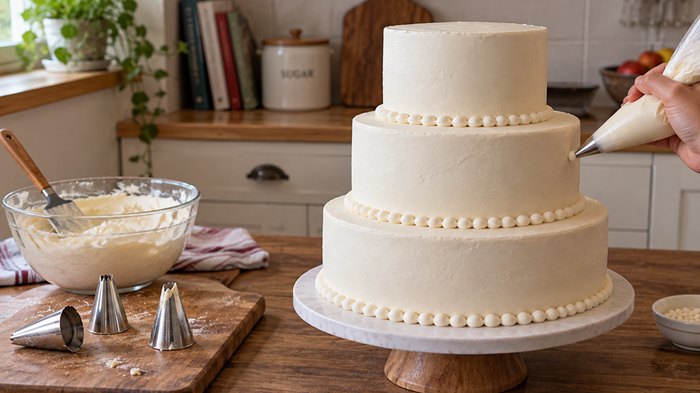
Want a border that helps keep the focus of your guests’ attention on the cake rather than the border? The pearl and bead border is a common type of border used on wedding and anniversary cakes due to its classic appearance.
Place a size 12 round piping tip on your piping bags and begin piping small beads that run continuously in one line by squeezing the bags with consistent pressure. Apply pressure steadily, hold it for a moment in order to create each bead, then release the pressure before piping the next one.
The trick is making sure that all the beads are equally sized. Make sure that the distance between all the beads is equal, and you will end up with an even border all the way around the cake.
Wave Border
Are you looking for something a little more unique than the standard shell or star borders? The wave border creates gentle curves around the cake and is perfect for wedding cakes, engagement cakes, and other fancy occasions.
When using a large star piping nozzle, for example one that is 4B in size, hold the piping bags at a 45-degree angle. Apply consistent pressure and move your piping tip in an S-shape continuously. Applying consistent pressure will make sure that all waves flow smoothly into one another.
With taller cakes the border is able to stand out, the curved piped decoration thus achieving a softer and more elegant effect.
Basketweave and Grass Border
Some borders will capture your attention not for piping but for their texture. An example of such a border is the basketweave border.
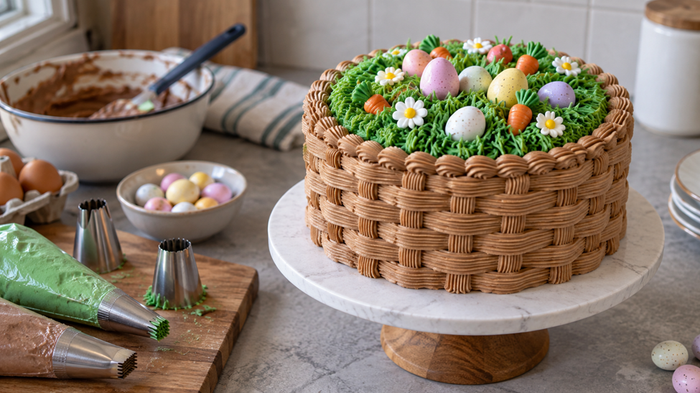
To make the traditional basket pattern, use a basketweave piping nozzle which has one flat edge and one serrated edge; first pipe some horizontal ribbons and then weave vertical ribbons between them. It requires more time and effort, but it provides a perfect finish especially for rustic cakes and traditional designs.
When you are planning to have a garden or woodland theme, the grass border is a good option. For this, use a 233 multi-opening piping nozzle, hold the piping bags at a 90-degree angle and pull them straight up in order to create fine strands. Finally, use edible colour sprays to give the icing a natural colour variation without altering the buttercream.
Ribbon Border
There are some types of cakes which can be attractive without the use of flowers and intricate piping. The ribbon border allows for keeping the finish neat and provides texture on the border.
To make this kind of border simply attach the large star or 2B ruffle piping nozzle to your piping bags and pipe horizontally as you draw one straight line applying equal pressure all over. It’s often picked by bakers who want their wedding cakes or other formal celebrations to look great!
Tips for Perfect Borders Every Time
Some of the most important things that you need to do before you start piping are going to determine how good your borders are going to be.
Use cold buttercream rather than warm frosting. This will help your shells, stars, and rosettes to keep their shape while coming out of the nozzle.
Using a cake turntable makes a great difference as well; rather than moving the piping bag, keep your hand steady while you turn the cake. This in turn enables you to maintain even pressure, spacing, and height along the border.
Make certain that your icings and fillings are ready and have the correct consistency before piping, since buttercream that is too soft will lose its shape and buttercream that is too stiff will be difficult to pipe. Before decorating the cake, practice your angle on some parchment paper.
Comments are closed here.