
How to Get a Perfect Mirror Glaze Finish Every Time?
What makes some cakes look almost too shiny to be real?
If you have ever seen a cake with a smooth, reflective surface, chances are you were looking at a mirror glaze. It catches attention straight away, but getting that finish is not just about following a recipe.
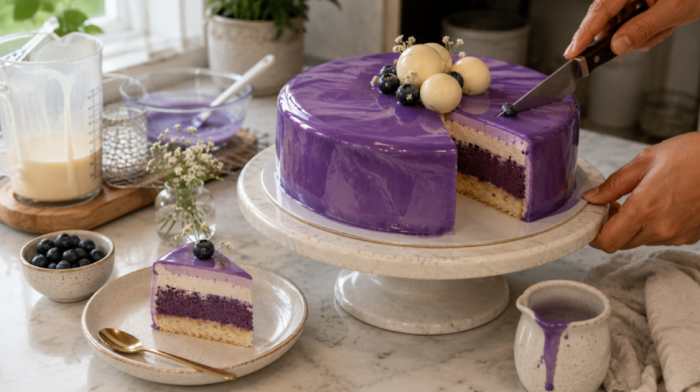
Most problems happen because of a few small mistakes with temperature, timing, or preparation. Once you know what to watch for, the whole process starts to make much more sense, and your mirror glaze results become far more consistent.
What Is Mirror Glaze?
If you have ever seen a cake that almost looks too shiny to eat, you were probably looking at mirror glaze.
It is a smooth coating that is poured over a cake to create that glossy, reflective finish people often stop and stare at. The mixture is usually made with sugar, condensed milk, gelatine, chocolate, and food colouring.
Mirror glaze is what gives cakes that smooth, reflective finish people often stop to look at.
One thing matters more than many people realize. A mirror glaze cake depends on a frozen surface to help the glaze set properly. Without that cold surface, the glaze will not set the way you want it to.
The Temperature Rule Nobody Warns You About
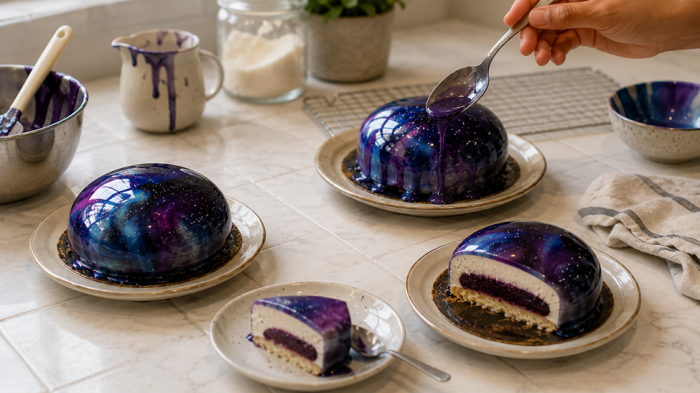
Have you ever followed a recipe closely and still ended up with a mirror glaze that did not look right?
In many cases, the temperature is the reason. A few degrees can make a bigger difference than people expect.
If the glaze goes on before it has cooled enough, getting an even layer becomes much harder. If it is too cool, it may start setting before it finishes covering the cake, leaving uneven areas behind.
For most mirror glaze recipes, the pouring temperature sits between 32°C and 35°C. Using a thermometer is far more reliable than trying to judge it by sight.
Within that small temperature range, the glaze can flow smoothly over the cake while still holding onto the frozen surface underneath.
Preparing the Cake Correctly
Before you pour any cake mirror glaze , take a close look at the cake itself.
A common mistake is thinking the glaze will cover small marks or uneven areas. In reality, it tends to make them more noticeable. If there is a dent, bump, or rough patch underneath, chances are you will still see it after pouring.
This is why smooth cakes work best for mirror glaze. Mousse cakes are a popular choice because they freeze with a clean, even surface. For sponge cakes, a smooth ganache coating gives you a much better starting point for mirror glaze.
One more thing matters here. The cake should be fully frozen before you pour. Not chilled from the fridge. Frozen all the way through.
How to Pour Mirror Glaze Properly
Place the frozen cake on a wire rack over a tray before you start. Once you begin pouring you cannot stop and adjust, so having everything in position beforehand matters.
Pour steadily from the center of the cake, not the edge. Let the glaze flow outward naturally and spill over the sides under its own weight. After pouring, allow the glaze to spread across the cake without interference. Touching it while it is setting disrupts the surface and leaves marks.
The whole pour should take about 15 to 20 seconds. Then step back and let it drip and settle for at least a minute before moving the cake. Transferring it too quickly pulls the glaze off the sides before it has properly gripped.
Colouring and Finishing
A plain white mirror cake glaze gives you plenty of room to experiment with colour. A few drops of gel food colouring can completely change the look of the finished cake.
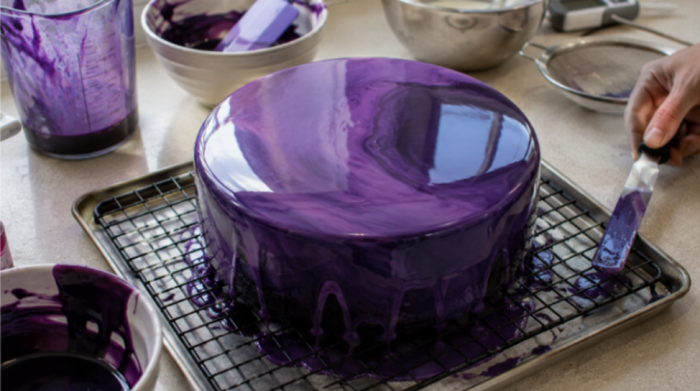
Want a marbled effect? Divide the glaze into separate bowls, colour each portion, then pour them over the cake together. As the colours meet on the frozen surface, they create patterns that are difficult to recreate twice.
If you prefer darker finishes, chocolate mirror glaze is another option. It uses dark chocolate instead of white chocolate, giving the glaze a deeper colour and a different flavour profile.
You can make mirror glaze from scratch or use a ready-prepared version, depending on your preference.
Why Did It Go Wrong?
If your mirror glaze did not turn out the way you expected, the cause is usually easier to spot than you might think.
If the finish looks dull rather than glossy, the temperature or chocolate could be the reason. Thick patches often appear when the glaze is poured too cool and starts setting too quickly.
Seeing bubbles on the surface? Air may have been mixed into the glaze, or it may not have been strained before pouring.
If the glaze slides straight off the cake, the cake was probably not frozen enough. A chilled cake and a frozen cake behave very differently here. For marbled designs, colours can blend too much if they are still too warm when combined.
Tips That Make the Biggest Difference
Small habits that consistently improve results with every pour.
Always use a probe thermometer rather than guessing temperature. Strain the glaze through a fine sieve right before pouring, not earlier. Work quickly once you start because hesitation shows in the finished surface. Have a palette knife ready to fold up any drips at the base of the cake before they set into long tails.
The confectioner’s glaze is worth knowing about for quick, individual applications or as a finishing layer to restore shine to a glaze that has dulled slightly after a few hours in the fridge.
For consistent colour results every time, gel food colouring gives much more vibrant and controllable tones than liquid colouring, which can also affect the consistency of the glaze at higher volumes.
Storing and Serving
Once your mirror glaze has been poured, the shine is usually at its strongest during the first few hours. As the cake slowly defrosts in the fridge, moisture can begin to form on the surface, which may make the finish look less reflective over time.
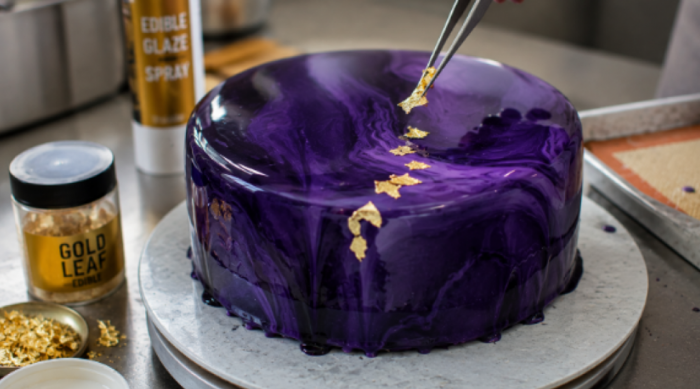
If presentation is important, try to serve the cake within a few hours of glazing.
Thinking about adding edible decorations? It is usually better to wait until close to serving time. Items such as gold leaf, sugar flowers, or small chocolate pieces sit more securely once the glaze has had time to settle. Adding them too early can cause lighter decorations to move or slide across the smooth surface.
Some decorators also use edible confectioners’ glaze spray on selected decorations when they want to add a little extra shine before serving.
One Last Thought
If you are learning how to make mirror glaze, do not focus on making it look right straight away. Focus on getting the basics right first.
A fully frozen cake, the correct pouring temperature, and a smooth, steady pour can make a big difference to the final result. These are the details that most successful mirror glaze cakes have in common.
Like many decorating techniques, it often becomes easier once you have tried it a few times. Having the right cake supplies nearby can help the process feel more manageable, but patience and practice matter just as much.
Take your time, trust the process, and enjoy watching that glossy finish come together.
Comments are closed here.