
Master Gel Food Colouring in Minutes
You finish covering your cake, pick up the colour, and imagine neat flowers, smooth borders, or soft pastel swirls. Then one extra squeeze changes everything. The buttercream turns darker than you wanted, the fondant starts feeling sticky, and the design in your head suddenly looks nothing like the one on your cake.
If that has happened to you, the colour was probably the problem, not your decorating skills.
It does not take long to get comfortable with gel food colouring, and once you do, colouring cakes feels far more manageable. Unlike liquid food colouring, it gives strong colour without changing the texture of your buttercream, fondant, or royal icing.
No matter if you are creating light pastel tones or rich, vibrant colours, using the right amount of gel food colours makes it easier to get the finish you planned.
Gel vs Liquid: Why It Actually Matters
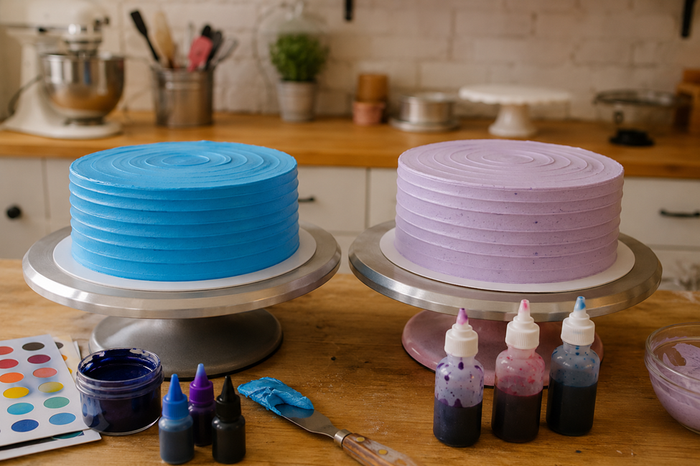
You spend ten minutes mixing buttercream until it’s smooth, add a few drops of colour, and suddenly it feels softer than before. You add more because the shade still looks pale. Now the buttercream is thinner, the colour still isn’t right, and decorating on your cake turntable becomes much harder. Does that sound familiar?
That usually happens with liquid food colouring. Because it contains more water, it can thin buttercream, soften fondant, and change the texture of royal icing. Even after using quite a bit, the colour often stays light.
Begin with a tiny amount, as gel food colouring is packed with pigment and contains very little water, allowing buttercream, fondant, and icing to hold their texture. Natural food coloring, made from plant and vegetable sources, is another option, but the shades are usually softer.
Popular shades like Bright White, Super Black, Royal Blue, Deep Pink, and Lemon Yellow are often chosen because they deliver strong, consistent colour with very little product. If you want bold, reliable results, Gel Food Colours are the one most decorators reach for. Also, if you decorate regularly, a Gel Food Colour Set with oil-based and paint base colours gives you plenty of options for buttercream, fondant, chocolate, and edible painting.
How to Use Gel Food Colouring Correctly?
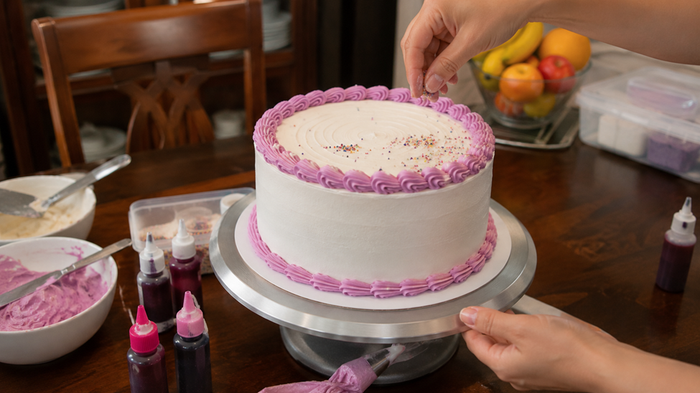
A little patience goes a long way, and that’s something you should keep in mind while working with gel food colouring. Have you ever squeezed in a little extra because the colour didn’t look dark enough? That’s one of the most common reasons colours go wrong.
Start with a tiny amount using a toothpick instead of squeezing straight from the bottle. Mix it well, then wait a minute or two before deciding if it needs more. The colour continues to develop, especially in buttercream and fondant, so what looks light at first may be just right after a short rest.
If you’re colouring fondant or sugarpaste, wear food-safe gloves, keep a couple of good cake decorating tools nearby and knead it well. The more you work the colour through, the more even it becomes. If you can still see streaks, it simply needs more kneading before you add any extra colour.
Which Colours to Use for Which Applications?
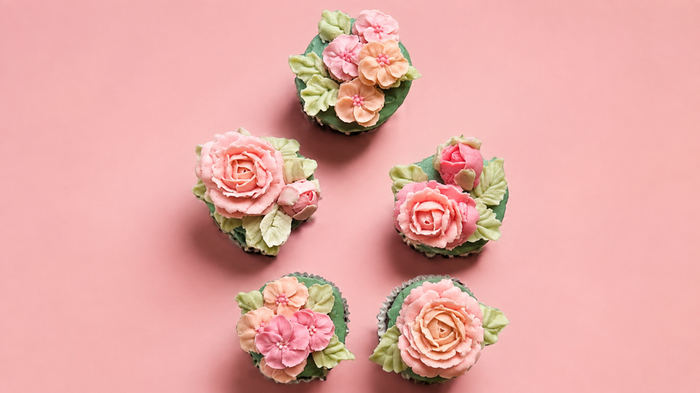
A colour that works well in buttercream may not give the same result in chocolate or ganache. That’s why choosing the right food colouring for each application matters just as much as choosing the colour itself.
For buttercream: Standard gel food colouring works well for most buttercream recipes, but oil-based colours are a better choice for high-fat buttercreams. They blend more evenly and reduce the chance of streaks. If you’re making deep shades like red, black, or navy, use a highly concentrated gel because these colours need much more pigment than lighter shades.
For royal icing: Gel food colouring is the usual choice. Add a small amount, mix it well, and let the icing rest for about 30 minutes. Have you ever thought the colour looked too light, only to find it much darker later? That’s completely normal.
For fondant and sugarpaste: Gel food colouring is suitable for lighter shades. If you need black, dark red, or navy, start with coloured sugarpaste instead of white. Then add a little gel to deepen the shade. You’ll use less colouring and reach the colour much faster.
For chocolate and ganache: Avoid water-based colours because they can cause chocolate to seize. Instead, use oil-based or powdered food colouring, as both mix much better with chocolate.
Colour Mixing: The Combinations Worth Knowing
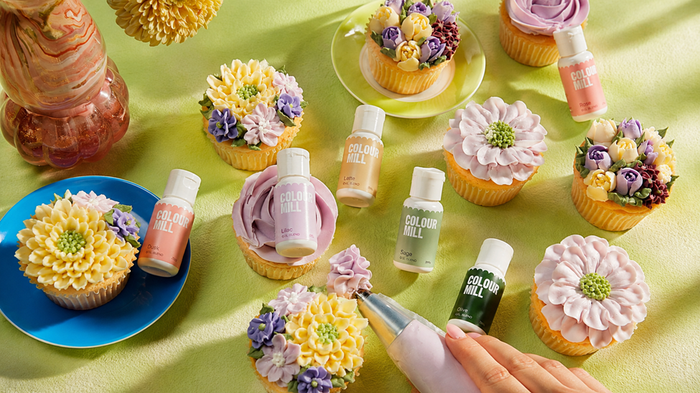
Buying every shade isn’t the only way to build your colour collection. Once you know a few simple combinations, you can mix many of the colours you need right in your kitchen. It takes a little practice, but after a few tries, you’ll start getting the shades you’re looking for.
- To make purple: Mix red and blue. Even a small change in the ratio can noticeably change the final shade. More red gives a richer purple, while more blue shifts it towards violet.
- To make orange: Mix red and yellow. A small amount of red gives a bright orange, while equal amounts create a deeper burnt orange.
- To make green: Mix blue and yellow. Add more yellow for lime green or more blue for forest green. If you need the same shade every time, green gel food colouringis a reliable option.
- To make brown: Mix red, yellow, and blue in similar amounts, then adjust each colour to make warmer or cooler browns.
- To make black: Mixing all three primary colours creates a dark grey, but black gel food colouring gives a much deeper colour with less effort.
- To make coral: Mix red with a little orange and a tiny touch of white.
- To make a dusty rose: Mix red and white, then add a small amount of grey or brown.
Simple Fixes for Common Colouring Issues
Getting the right colour isn’t always straightforward, but most issues have a simple solution.
The colour fades after baking: Red and pink shades can lose colour in the oven. If you’re baking the colour into your cake or cookies, choose an oven-stable food colouring. Decorating after baking? You don’t need to worry about this.
The buttercream looks streaky: Don’t stop mixing too soon. If you can still see lines of colour, keep beating. Still there? Your buttercream is probably too cold.
The colour isn’t dark enough: Keep adding colour little by little. If you’re using a weak gel, switching to a more concentrated one will get you there much faster.
The fondant feels sticky: Added too much colour? Mix in a little icing sugar, or use paste colouring when you’re aiming for very dark shades.
Building a Colour Kit That Covers Everything
You don’t need a shelf full of bottles to create colourful cakes. In fact, you can mix most shades with just six colours: red, blue, yellow, black, white, and green. Once you start experimenting, you’ll be surprised how many new colours you can create from that small collection.
As you bake more often, you’ll probably notice a few shades disappearing faster than the rest. Electric Purple, Lilac, Blush, Copper, Ivory, and Leaf Green gel colour usually top the list, so keeping those ready to use can save both time and colour mixing.
Your cake decorating suppliesdon’t need to be complicated. A reliable colour kit, a little practice, and the confidence to mix your own shades are often all it takes to bring your cake ideas to life. If you’re starting from scratch, rainbow food colouring setsare an easy way to build a collection with the colours you’ll reach for again and again. Cake Craft Company stocks the full range if you want to see what’s available.
Comments are closed here.