
The Right Ingredient in the Right Mould Changes Everything
The same mould can be used to create totally different decorations for your cakes. The same mould will produce fondant flowers one day and will contain chocolate, ganache, or modelling paste the following day.
This is why silicone moulds are so useful in cake decorating. You just have to find the right material to fill up the moulds that you wish to make.
The mould for cake can be used for moulding flowers, shapes, characters, pumpkins, borders, and decorative textures. So, before purchasing various cake moulds, consider what your creations will be and what material would be suitable for making the creations.
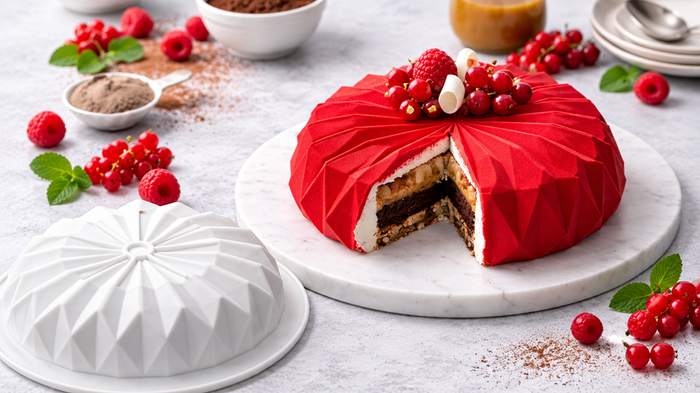
Silicone vs Metal Moulds
The choice of materials in making the mold might affect the ease of your decorating process. Thus, let’s compare and decide which one suits your needs.
- Silicone molds are soft and flexible, so you will have no problem with removing the decoration from it. You can use it with fondant, chocolate, candy melts, ganache and modeling paste.
- Metal molds are good at maintaining heat, so they will be great for baking, giving cakes an even darker colour. But first, you should grease and line them.
- Talking about plastic molds, they are cheaper, but could crack if pressed a little too hard and could miss the details.
As for the decorations, silicone molds will suit you better.
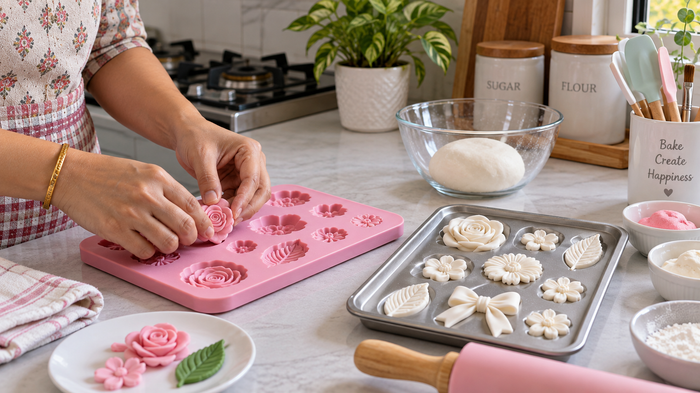
It all depends on the ingredient which you are planning to pour into it:
- Fondant and modelling paste: Dust the mould with a little cornflour which will stop anything from sticking to the mould while keeping grease away from the decoration.
- Deep or detailed moulds: Use some white vegetable fat in the small gaps, too small for cornflour to reach.
- Chocolate and candy melts: No release agents are required.
- Cake batter: Grease the mould with butter or oil beforehand and then pour in the batter.
Cornflour for silicone moulds is the most efficient release agent. Just use a little cornflour and press the paste well into the mould to get clear designs.
What to Fill Silicone Moulds With?
You can put several ingredients in one mould and the outcome depends on the ingredients and the way of filling.
You can put several ingredients in one mould and the outcome depends on the ingredients and the way of filling.
Fondant in Silicone Mould
Heat the fondant slightly by kneading it before pressing it into the mould. If it is cold, it may tear and not get all the small details.
When filling character shapes or toppers with details, add a little bit of tylose or CMC powder. Press the fondant into the deepest part first and then gradually move to the edges. This works well with Sugarpaste and rolled icings that are simple to knead.
Chocolate in Silicone Mould
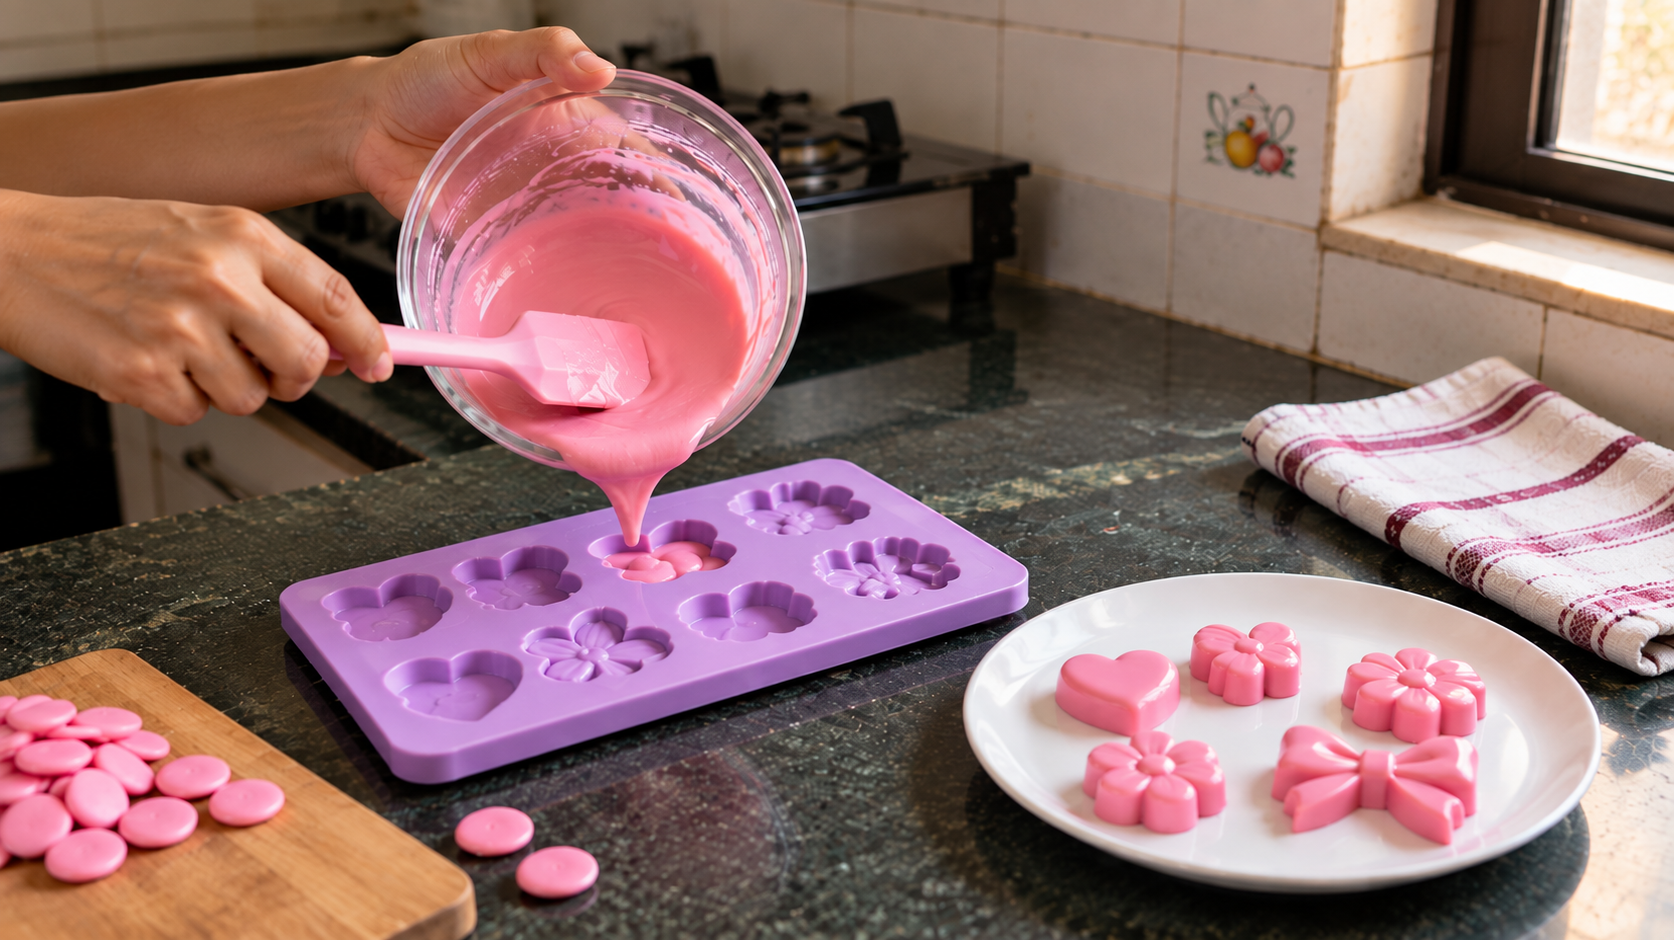
Melt chocolate and pour into the mould. Tap it gently on the counter to remove air bubbles, and then allow it to cool until it is set. Couverture chocolate in callets melts easily and can be used to create detailed shapes. It should be tempered if you prefer a glossy finish. Good chocolate supplies will ensure that your chocolate decorations have no dull or cloudy appearance.
Candy Melts in Silicone Mould
Do you want a simple process? Then candy melts are what you require. Candy melts are simple to work with because they do not require tempering. All you need is to melt them, pour them into the mould, tap the air bubbles and then allow it to chill until it is set. You can get them in many colours and thus suitable for character moulds, cake pops and Halloween decorations.
Ganache in Silicone Mould
The ganache should be warm and liquid when pouring into the mould. Tapping after pouring will help to remove any air that is trapped in it. Place the ganache in the refrigerator until it is set. When cooled, the ganache becomes hard enough to hold fine detail from the mould.
Royal Icing in Silicone Mould
Do not use regular flood icing since that will be too thin for use in a mould. Use thicker royal icing and press it in each and every part of the mould. You should then remove any excess icing from the top and allow it to dry at room temperature until it is fully dry. This keeps the shape and small details neat and clear.
Modelling Paste in Silicone Mould
Put and press the paste in all parts of the mould. Remove the excess paste on top of the mould, leaving it to dry and wait until it is not sticky anymore. After it dries, the paste becomes solid, which you can use as toppers or store it for future use.
Cake Batter in Silicone Mould
Grease the mould slightly before pouring the batter. Wait for the cake to cool before removing it from the mould. The softness of the silicone makes this easy. Donut, hemisphere, and novelty shaped baking moulds are useful in making cakes of different shapes.
Texture Moulds and Border Moulds
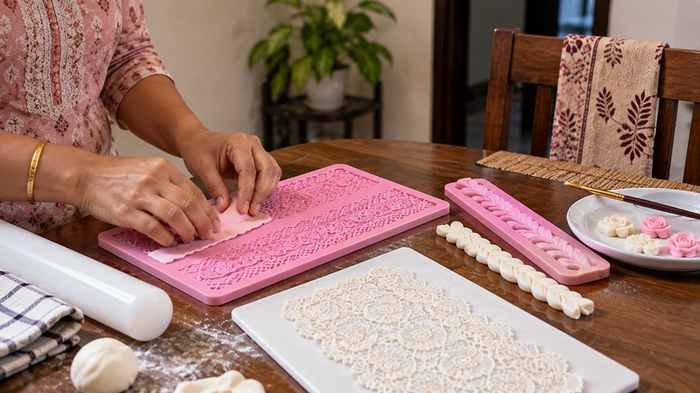
Would you like to create a design without having to cut each individual piece by hand? Texture moulds for cakes could be the solution. Press the mould onto fondant that is rolled out to form patterns including lace designs, wood texture, or simply geometric designs. Next, use little gel food colouring to apply colour onto the raised surfaces.
Cake border moulds can be used similarly. Fondant can be pressed into the mould to produce a strip that looks like a rope, ribbon, or garland. The moulded piece can then be attached to a cake tier or cake board using edible glue.
When Your Moulded Decoration Goes Wrong?
- Your decoration gets torn while you are removing it: It could be because your paste is too cold or is not ready for removal. Warm it up a little and allow more time for removal.
- Presence of air bubbles in chocolate: Give the mould a tap on the table before placing it in the refrigerator.
- Small details are missing: You might use too much cornflour. Reduce its quantity and press your paste tightly into the mould.
- Sticky fondant in the mold: The fondant could be too warm and soft. Chill the filled mold for a few minutes before removing it.
Do not use a sharp tool for removing the decorations. Gently peel the silicone mold away from the sides and move gradually towards the center. The cake smoother can be used to flatten the back of the decoration before it dries.
Which Mould Should You Use?
All molds are not meant for the same decoration purpose. Choosing the right mold that meets your design requirements will save you some time and effort.
- Molds for characters and animals: Fondant or modeling paste is required for figures and toppers.
- Chocolate Polycarbonate Molds: It is advisable to use Couverture chocolate for chocolates and cake decorations.
- Cake Pop and Cakesicle Molds: Candy Melts are to be used to coat cake pops.
- Pumpkin Molds & Seasonal Molds: Use fondant or chocolate for special decorations.
- Flower and petal moulds: Modelling Paste is used for sugar flowers.
- Number & Letter Molds use fondant or chocolate to write the names, age and create cake toppers.
Once you have decided about what you need to create, selecting a suitable mould will become easy. In addition to that, to get the shine, you can add Edible lustre dusts on top of fondant or chocolate pieces.
Get More from Your Cake Moulds
There is no need to create each flower, character or small decoration from scratch. Silicone molds can do those shapes for you.
Begin by trying a simple flower or character mold, and learn to carefully extract the shapes from the mold. Once you feel confident in working with simpler items, you can start with chocolate and modeling paste! You also need to know which material is suitable for the mold, how much of the agent of separation should be used, and the drying time for the decoration.
Keep your cake decorating supplies ready. Choose molds according to the type of cake you like to decorate and keep experimenting with one mold at a time. With the right tools and practice, you can create great decorations without spending hours creating each one separately.
Comments are closed here.