
The Tricks to a Cartoon Cake Topper from Modelling Paste
You sit down with your paste, your tools, maybe even a YouTube tutorial playing in the background. You start shaping a tiny face, little arms, and small shoes and then everything starts going wrong.
One arm cracks. The legs stop sticking. Everything starts collapsing sideways just when it finally looks almost finished.
If this keeps happening with your modelling paste for cake toppers, you are not the only one. Most people struggle with the same things at the start because nobody really explains the tiny tricks that actually make figure work easier. Once you know what is causing them, the whole process starts feeling much easier.
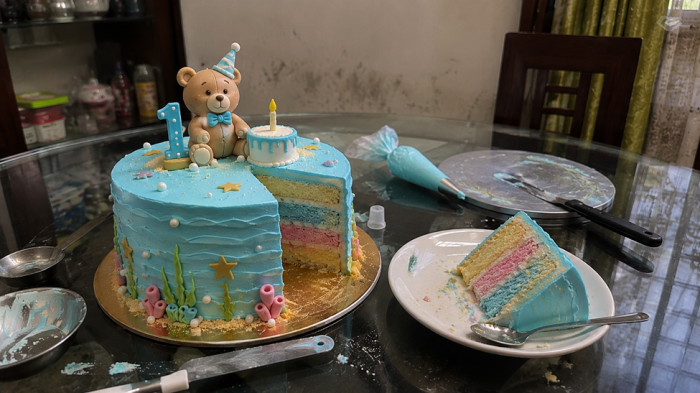
Wait, Are You Even Using the Right Paste?
A lot of beginners grab regular sugarpaste and start making figures straight away. Then ten minutes later the topper starts cracking, leaning, or falling apart piece by piece.
That is usually where the frustration begins.
The problem is not always your skills. Sometimes it is just the paste. Regular sugarpaste is mainly made for covering cakes, not building figures. But Modelling paste is made to hold shape better, stay workable while you are shaping it, and stick together much more cleanly.
The right modelling paste helps beginners avoid a lot of common mistakes. Many beginners like Saracino White Italian Sugar Flower and Modelling Paste because it stays soft for longer, so you get enough time to shape little details without the paste drying too quickly in the middle of working.
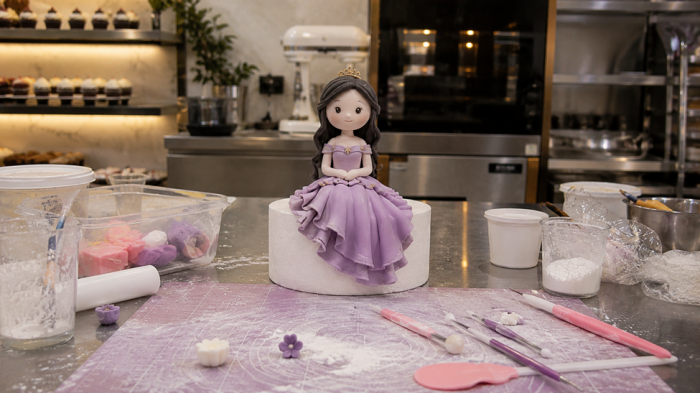
Do You Need to Buy Paste or Can You Make It Yourself?
Do you really need to buy ready-made paste every single time? Not at all. If you know how to make modelling paste from sugarpaste, you can make it at home with just one extra ingredient.
A little CMC or tylose powder is usually enough to make sugarpaste and easier to shape. Mix around half a teaspoon into 250g of paste, knead it properly, and leave it for about 30 minutes. The texture changes a lot after that. After resting, the paste becomes easier to shape for cake decorating modelling paste work.
But if you are still learning, ready-made paste can save you from a lot of errors. That is why many beginners like Saracino Skintone Rose Beige Italian Sugar Flower and Modelling Paste. Because the colour is already set, making small decorative details becomes much more simple.
Why Does Fondant Keep Cracking and How Do You Stop It?
Just when the topper starts looking good, small cracks suddenly appear on the surface. Annoying, right? That happens a lot with modelling paste for cakes, especially when the paste dries too quickly. Maybe it stayed uncovered too long. Maybe the room feels warm. Maybe your hands heated the paste while shaping details.
Most cracks happen because of small things like these. A few habits help a lot:
- Knead the paste properly before starting
- Keep extra paste sealed in a bag while working
- Rub a tiny bit of vegetable fat onto your hands if the paste feels dry
- Avoid working near sunlight or heat
Once you understand how to stop fondant cracking, the whole process feels smoother, easier, and much less confusing.
Why Do Cake Toppers Start Tilting to One Side Later On?
You know when your cake topper looks perfect at first and then slowly starts leaning to one side? That usually happens because the base was still too soft.
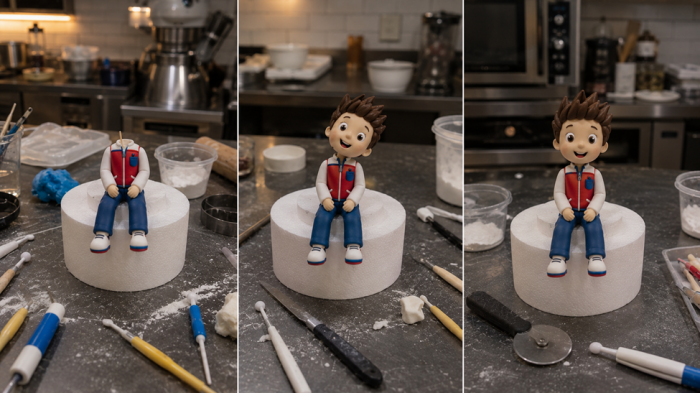
When you are working with modelling sugar paste, start with the legs and lower body first. Let them firm up a bit before adding the head, arms, and all the tiny details. If you stack everything too quickly, the weight on top pulls the figure down while drying.
And that gets annoying really fast.
If you are making taller toppers or figures for cakes that need travelling, extra support helps a lot. A figure modelling tool set with poseable wire armatures keeps the figure standing properly from the inside. The wire gives the paste something strong to hold onto, so your topper stays upright instead of slowly collapsing later.
Why Do Your Colours Never Turn Out the Way You Expected?
You start mixing colours for your topper thinking it will take two minutes and then suddenly the pink looks orange or the black turns grey. That is pretty common when you are new to figure making.
Using pre-coloured paste makes things much easier, especially when your character has different shades and tiny details. For bright colours, Saracino Fuchsia Pink Italian Sugar Flower and Modelling Paste gives you a bold shade straight from the pack, so you can start working immediately without mixing anything.
Black is another colour that gets tricky really fast. Renshaw Dahlia Black Sugar Flower and Modelling Paste helps a lot because getting a deep black by mixing colours yourself usually takes forever.
If you want custom shades, use paste food colours instead of liquid ones. Liquid colour makes the paste sticky, while paste colours keep the texture smooth and easy to shape.
Which Tools Actually Make Figure Modelling Easier?
You really do not need a giant collection of sugarcraft supplies to start making good cake toppers. Even a small set of basic tools can make figure modelling feel much easier.
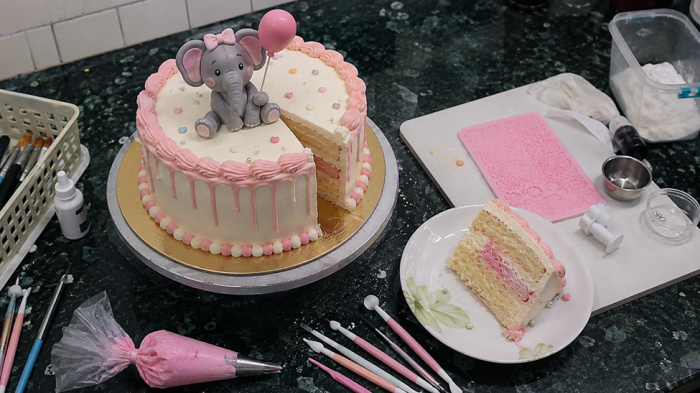
Using a non-stick mat makes modelling paste much easier to control while working. A ball tool helps smooth joins and shape tiny details like eyes without leaving fingerprints all over the face. And edible glue? That saves so much frustration when tiny pieces like ears, hands, or little accessories refuse to stay attached.
Once you start adding clothing details or textures, a few extra tools help even more. Something simple like a double chisel tip silicone tool or a small texture mat makes patterns look much cleaner without struggling to do everything by hand.
The best part is that you slowly build your kit over time. You do not need everything on day one.
Does Your First Cake Topper Need to Look Perfect?
Your first topper will probably look a little weird, and that is completely fine. Most people start with wonky faces, uneven legs, or figures that lean sideways after ten minutes.
Start simple with Cake decorating using modelling fondant. Make a tiny head, a basic body, or one small accessory first. The more you practice, the easier everything starts feeling.
Give the paste time to firm up, keep your tools clean, and do not rush the details.
And if the first topper looks slightly cursed, congratulations, you are officially learning.
Comments are closed here.