
What a Cake Airbrush Can Do That Nothing Else Can?
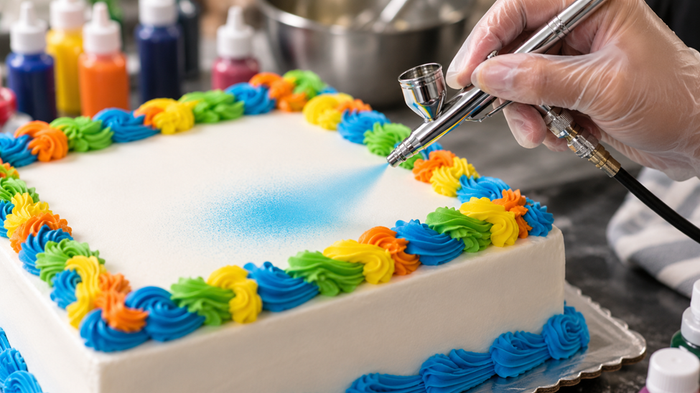
Do you feel like you can’t decorate your cakes because you don’t have a lot of talent in the areas of piping and painting? Don’t worry. There are plenty of gorgeous cake designs that don’t need any of your baking skills. A good cake airbrush is all you need!
Want to make a sunset cake with soft colours of coral, pale orange and yellow? Or a galaxy cake airbrush effect with blue, purple and white colours along with some little bit golden shimmer?
Perhaps you would love to try making a classic yet elegant ombre cake airbrush design with a nice blend between blush and ivory colour shades. You can’t get these effects with a brush or a piping bag. Such effects are not achievable through a brush or piping bag. They are possible because of cake airbrush colours, which are made in liquid form for airbrushing purposes. In contrast with gel food colouring, these colours are sprayed easily and create smooth blends.
What Is a Cake Airbrush?
A cake airbrush is a tool which sprays a thin layer of food-safe liquid colour onto the cake; rather than using a brush, it blows the colour onto the cake, thus giving a smooth finish with no brush marks.
The cake airbrush kit consists of two main parts, an airbrush gun and a compressor. The compressor forces air through the gun, which from a small cup sprays the colour through a fine nozzle.
You can control the colour’s appearance. Hold the airbrush closer to the cake for a deeper colour, hold it a bit farther away for a lighter colour. You can continue adding thin coats until you have the look you want. This level of control is one of the main reasons many cake decorators like to use a cake decorating airbrush.
What Airbrush Colours to Use?
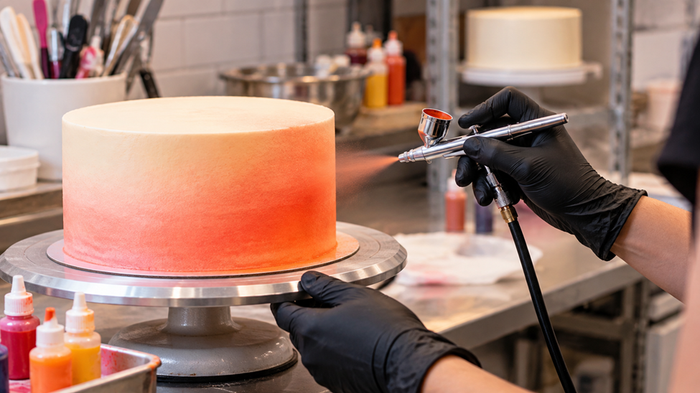
It may be that you own the best cake airbrush around, but if the airbrush colour you are using is not suitable, you are not going to achieve an even finish. This is due to the fact that airbrush colour is more runny than gel food colouring and therefore will easily flow through the tiny nozzle.
Sugarflair has gold, silver, pearl white, pink, yellow, orange, autumn gold, light green, dark green and red edible airbrush colour in 60ml bottles for everyday decorating. These shades are great for anything from simple coverage to blending colours with airbrush.
Want to add a metallic feel? AmeriMist comes in gold sheen, rose gold sheen, bronze sheen, silver sheen, copper sheen and lavender sheen. They are ready to use, you can pour them straight from the bottle into your airbrush, without any extra mixing.
Fractal Colours makes colour planning for themed cakes a lot easier. Sunset effect with red, orange and lemon yellow, ocean look with royal blue, sky blue and white and galaxy cake airbrush design with royal blue, lilac, white and gold shimmer. Deciding on the colours you will use before beginning ensures you achieve a cleaner finish.
The Ombre Cake Airbrush Technique
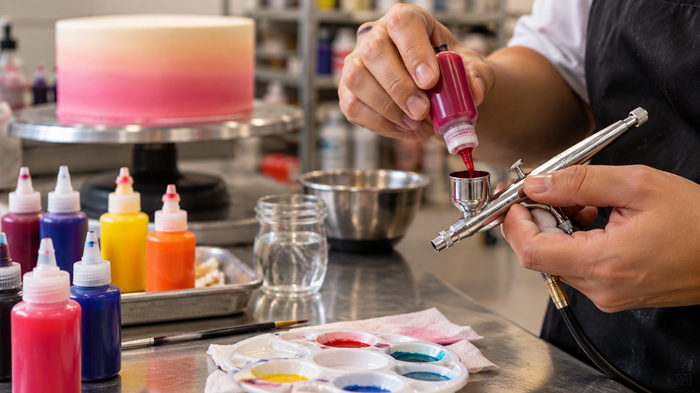
If you’d like to start off by trying one of the cake airbrush techniques, then choose the ombre cake airbrush effect. It is difficult to produce a smooth transition from one colour to another by hand, which is the reason it is still one of the most popular airbrushed finishes.
Before you begin, put the cake onto a cake turntable which spins smoothly. Rather than moving the airbrush around the cake, hold the airbrush at the same angle and distance and instead turn the cake. This will ensure that the colour blends evenly all the way around with no visible lines.
Start from the lightest shade at the top and finish with the darkest shade at the bottom. Make a slight overlap of each colour when it is still wet to get a smooth transition of colours. Apply the colour in thin layers and don’t try to make everything at once.
Cover all already done cake decorations with clean parchment paper before airbrushing to avoid overspray.
Galaxy Cake Airbrush Effect
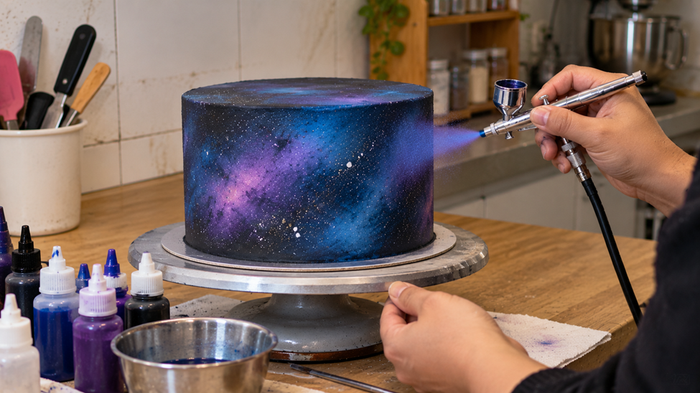
A galaxy cake airbrush isn’t about spraying a lot of colours onto a cake and then hoping they appear to be space; the trick is to add each colour in small amounts so that the layers develop naturally.
Begin by completely covering the cake with black colour and wait until it dries. Next, use deep blue, royal blue, sky blue and lilac. Rather than filling the cake with solid colour, spray on loose patches which blend into one another like clouds across the night sky.
Next, apply small patches of white to the darker areas to produce the stars, and then give the white areas a light spray of gold shimmer colour to add the metallic sheen which finishes off the galaxy effect.
Let each layer dry before applying the next. Spraying on wet colour will cause the shades to blend together which lessens the contrast that gives the galaxy design its depth and cloud like appearance.
Airbrushing on Fondant vs Buttercream
The choice of cake covering changes the way airbrush colour looks so it’s important to decide before you start using an airbrush for cakes.
Since buttercream will absorb colour rapidly, you generally need less colour to make the shade. The finish also appears softer. The best thing to remember is if you want cleaner results, chill the cake for 15-20 minutes before airbrushing. Firm buttercream gives you a cleaner, sharper colour.
On the other hand, fondant is different from buttercream. It will not absorb the colour as fast as buttercream; therefore, you will have sharp colourings. That is the reason why many cake decorators use it for stencilling and for detailed masking, since clean and sharp lines are important in such cases.
Preparation is important whichever covering you use. After airbrushing any bumps, dents or uneven areas will be more noticeable. So, before you start airbrushing, prepare the cake by smoothing out any imperfections with a cake smoother and scraper.
Working With Stencils and an Airbrush
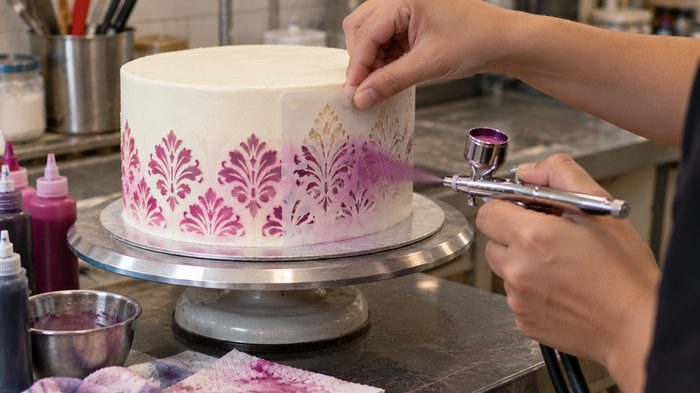
If you need to achieve patterns but not painting all of it by hand, then you can use a cake stencil for this. It will help you to achieve repeated patterns on the sides of your cake, using a cake airbrush, as a result of which your cake will receive sharp, professionally-looking finishing.
It is very important to press the stencil firmly onto the cake and use low air pressure when spraying. It is not advisable to spray too hard because you will get the colour underneath the stencil, thus blurring the outline. After spraying, you should lift the stencil off the cake carefully before the colour sets.
Airbrush Troubleshooting
Even experts when it comes to airbrushing face minor issues during the process. The good news is that most are easy to fix.
- If the colour is being sprayed in droplets then the airbrush colour you are using may be too thick or the nozzle may need cleaning. Try thinning the colour a bit or cleaning the nozzle before proceeding.
- No colour is released from the nozzle? This means your nozzle is blocked. Clean it with the airbrush cleaner right away and do not let the colour dry in the cup when you stop, as it can damage the nozzle.
- Uneven colour coverage? Keep the distance between the cake airbrush at about 15 to 20 cm, and apply pressure evenly during each stroke.
- Cover completed areas with clean parchment paper before spraying nearby sections. If there is overspray on finished cake decorations, then you should cover the completed parts with some clean parchment paper before spraying the adjacent areas.
Cleaning and Maintenance
It’s always good to keep your cake airbrush clean. It may not take much time, but it will help avoid problems like blocked nozzles and replacement costs in the future.
After changing the colour and at the end of each decorating session, use an airbrush cleaner to clean your colour cup. Continue using the airbrush cleaner while spraying through the nozzle until it clears out entirely. If you have been working with dark or thick airbrush colours, remove your nozzle and needle and do a deep clean before storing your airbrush.
An airbrush pen holder is also useful when decorating tasks that take more time to complete because it helps you keep the airbrush safely between uses, preventing it from being dropped accidentally or having the nozzle touching the work surface and becoming compromised.
Comments are closed here.